Posts
Posts


I don't know about you but there are many teens on my Christmas list and I never know what to give them. So what generally happens is that I get them some small token gift and then give them a gift card. But what fun is that???? Well, it is lots of fun if you give it in a double slider gift card holder! Don't you think this is fun???

Here is what it looks like when you pull the top ribbon....

Of course I didn't have a gift card on hand so I used my Kohls pints card. But you get the idea. What to know how to make it?? It is really easy.
You will first need to start with a 9 by 5 1/2 inch piece of card stock
score at 1/2, 3 and 1/2, and 6 1/2.

The part with the half circle will also be your front so you can decorate as desired.
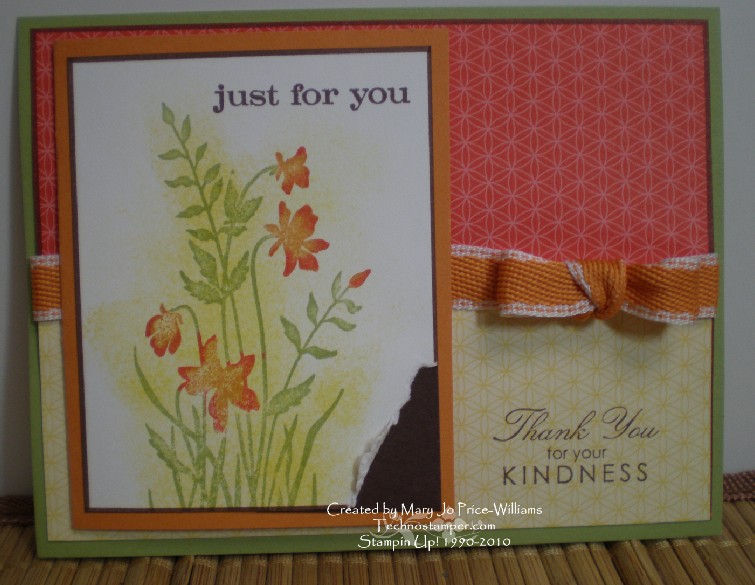
Next you will cut two pieces of card stock 2 1/2 by 4. One of these will be the top slider and will have your sentiment stamped on it--the other will hold your gift card. You may go ahead and decorate these as you would like--you will need to keep them pretty simple though as any bulk will interfere with the slider. I used my snail type adhesive and just ran a strip down the back of the gift card and attached. And as far as the sentiment piece I kept mine very simple. I stamped the sentiment and actually re-attached the notch I cut from the front so that when it is closed it looks like it is whole (kinda, lol) You will need to punch a hole in this piece and add some ribbon.
The next thing you will need is a piece of a plastic bag. I cut a strip from a Stampin Up bag but it could be any plastic bag. The strip should be just a bit thinner than the rectangle notches you cut in you base card stock. You will be taking the plastic bag strip and wrapping it around the section with the two rectangle notches. You will be forming a type of belt around that section. See below. (mine is pretty crooked and ragged but it will work just fine)

I used small pieces of scotch tape to cover where the ends meet and keep the flow smooth.
Now comes the fun/tricky part. It is not hard, you just have to pay attention to how you add the pieces to you slider so that they will function correctly. Lay you card stock so that the half circle opening is on the top left. Add a piece of double stick tape or adhesive to the plastic about 1 inch from the bottom notch. Now attach your sentiment panel to the tape with the top edge even with the top edge of the card stock base. Remember you only want a small section at the bottom of the panel to be attached and it can only be attached to the plastic bag. If any adhesive is on either the panel or the card stock base it will keep your slider from moving. Next, with you sentiment layer in place and even with the top edge of the card stock base turn your base card stock over so that the the half circle notch is now on the top right hand side. You will now attach you gift card slider panel to the plastic bag the same way as you did the sentiment panel, except this time the gift card will be facing down (it will be the part attached to the plastic) and you will be lining it up to be even with the bottom edge of the card stock base. When you have this done you can just fold on your score lines and run adhesive on the small half inch section to hold it all together. I hope this makes sense--let me know if you need more pictures.
Have fun making your gift card holders. By the way--gift card holders are the challenge on Latenightstamper's this week so if you are a member over there you may want to check out all the different sample. If you are not a member--why not????
Mary Jo