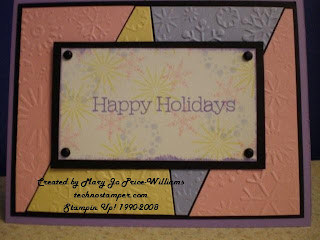
Here is a new twist on an old technique. This is such a fun technique no matter how you do it. But using your embossing folders gives you a whole new look! The step by stem tutorial is below! Please let me know if your try it, I would love to see your creations. I also posted a more traditional mosaic technique card at the end so please check it out!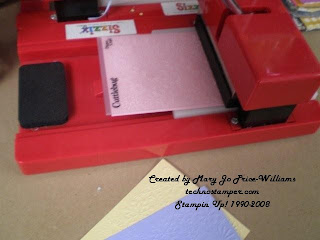
The first order of business is to choose two or more coordinating colors of card stock to use on the mosaic card. I chose the following three colors Pretty in Pink, Barely Banana and Lavender Lace for my card. Next your will need to emboss all three of your pieces of card stock with the same folder. I am using the snowflakes folder.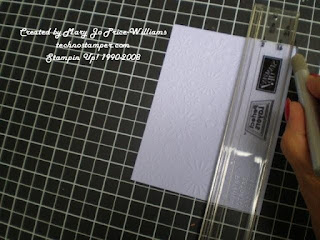
After you have three pieces of card stock embossed you will have to trim them all so that they are identical! This part is important so that they will look lined up in the later steps. So be sure to trim them all the same size and leave the exact same images. This is easier to do with a stamped image but not hard at all this way.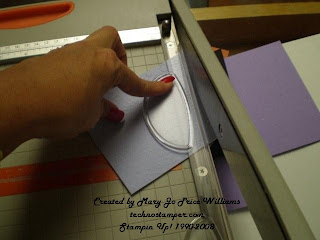
Next you will stack all three pieces of card stock together and cut into your shapes. (you are cutting all three pieces at once) I chose to make four angles shapes from mine. You can do as many as you like. Of course you will need to do at least the three to show all three of your colors. As you cut your stacked card stock be sure to lay it out next to the trimmer as the pieces are cut. This will help you to keep them in the correct order.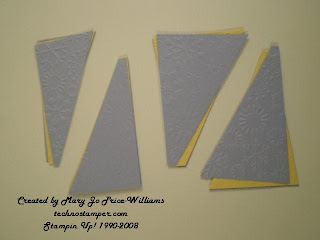
This picture shows how you should be setting your cut pieces next to your trimmer. Keep the piles together and keep them in the correct position.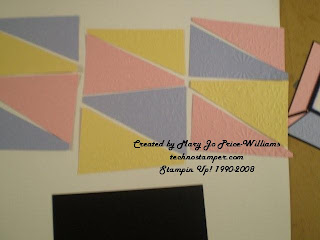
Next you will begin to lay your images out in alternating colors as shown above. You will get three background from this! Hence my 3 for 1 in the math equation.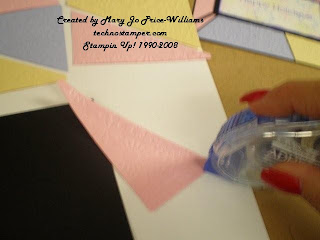
You can attach these directly to your card base but I like to choose another color of darker card stock to attach them to first. It really makes the background pop! I almost always use black but I am sure it would look good with other colors too --experiment and see what you like.
I just apply adhesive to each piece and attach it to the black background leaving a little space between each to help make it pop. You can see this in the photo below.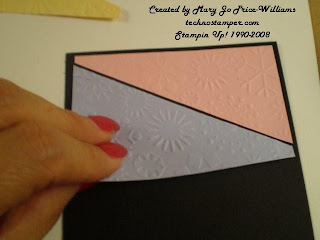
Now you can attach to your card base and embelish as desired. Here is my finished card again.
The next picture is of a card made using a more traditional form of the technique. Hence my 2x in the math equation. Hope you enjoyed and don't worry there will not be a test!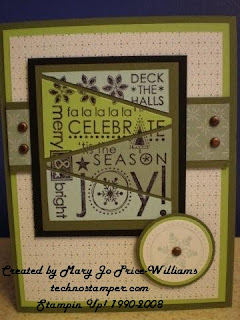
I did the exact same thing but with a stamped image and used it as my focal point. This works great with background stamps too. Thanks for stopping by today. Hope everyone in the states has a great Thanksgiving And to the rest of you just enjoy your day!
There are only a few days left on my Techno Take-Out!
Make sure you sign up for it. I am giving away a $20 gift certificate for Stampin Up!. Click here to enter.
Wednesday, November 21, 2007
3 for 1 2x Math 101 tutorial -- Cuttlebug Mosaic
Subscribe to:
Post Comments (Atom)


9 nice people left a comment:
You did a really great job on this tutorial. And what pretty cards!!
Excellent tutorial, thanks for taking the time to post. Your two cards are faulous.
Great twist on the Triple Mosaic Technique!
This is fabulous! I can't wait to try it for my Christmas cards!
Great job on the tutorial
Thanks for sharing!
Amy
I like this! Must try it. TFS. Blessings to you~
Thanks for sharing your Mosaic tutorial...your cards are great.
I like this technique.
Dee
This is a great tutorial Mary Jo. Very inspiring.
I have been searching for a quick and easy card for my sister's anniversary...guess what this is great but elegant too!!! THANKS!!!
Post a Comment